Routing specific traffic over a PIA VPN using PfSense
While i do somewhat trust my ISP, I certainly do not trust my government. There is some traffic going in and out of my network that i’d rather not have tied back to me (Im not talking highly illegal stuff, where anyone or anything gets hurt, think more “downloading linux iso’s” and live streaming uhh iso’s). So, i created a new VLAN for these devices and went about working on routing that traffic over my PIA VPN. Heres how.
Firstly, if you dont already have a PIA subscription, get one. They are cheap and keep no logs. Feel free to click the ad the top (or click Here), note, this is my affiliate link, i will get a kick-back from them if you do.
Adding the PIA CA Cert
We need to download the PIA CA Cert and the import that into pfSense.
Grab it from here: PIA CA Cert
NOTE: In these screenshots, i already have is added. Just copy what you see.
In pfSense, go to System then Cert. Manager. Yours will probably be blank, so press the Add button.
All we need to do here is add a Name and then copy and paste the contents of the CA Cert you downloaded earlier. This needs to be pasted into the Certificate Data box.
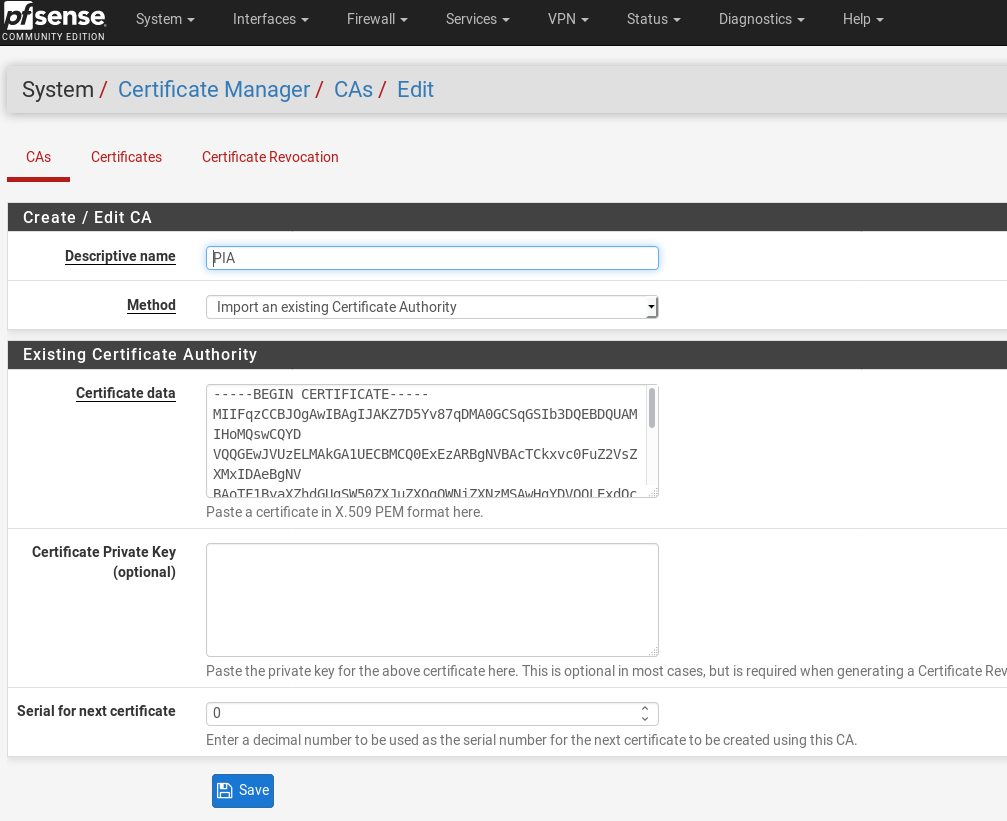
Then Press save.
OpenVPN Client Configuration
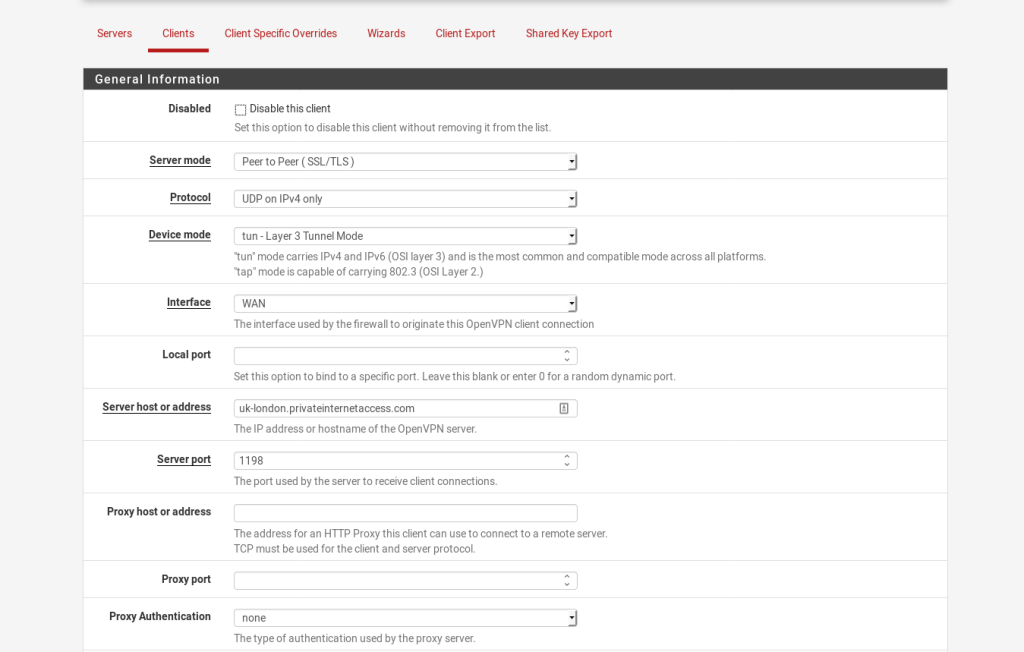
The next step is to setup your pfSense firewall as an OpenVPN client for your PIA Service. For this, go to VPN > OpenVPN > Clients.
Again, this will likely be blank so click the Add button.
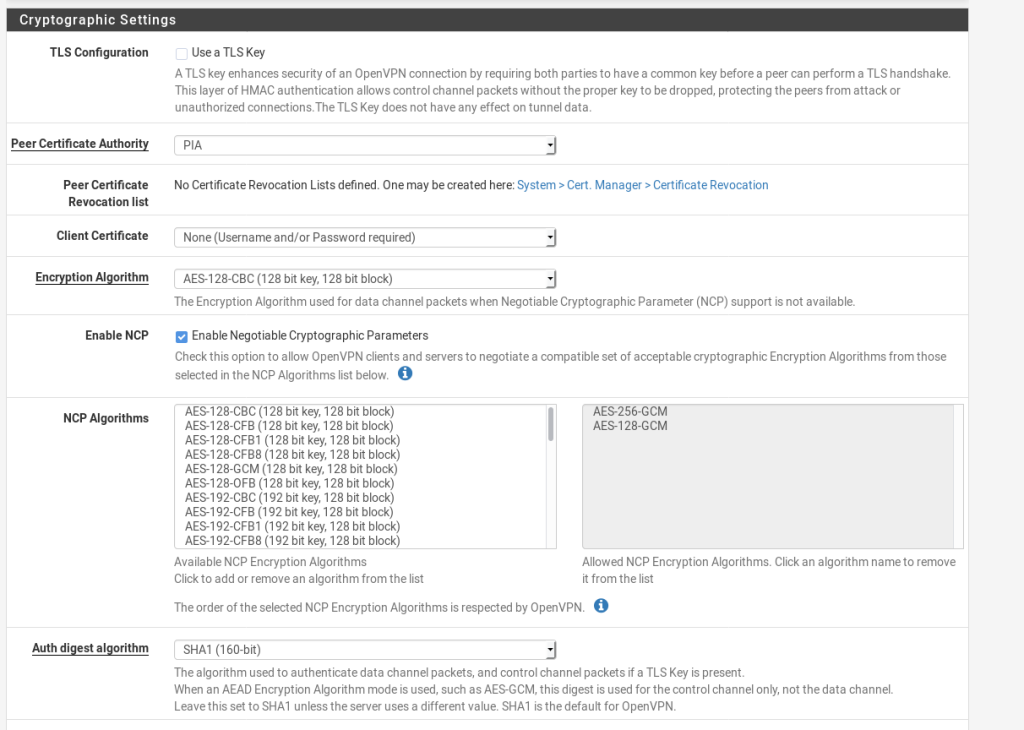
These are the settings that i have used (and work for me.)
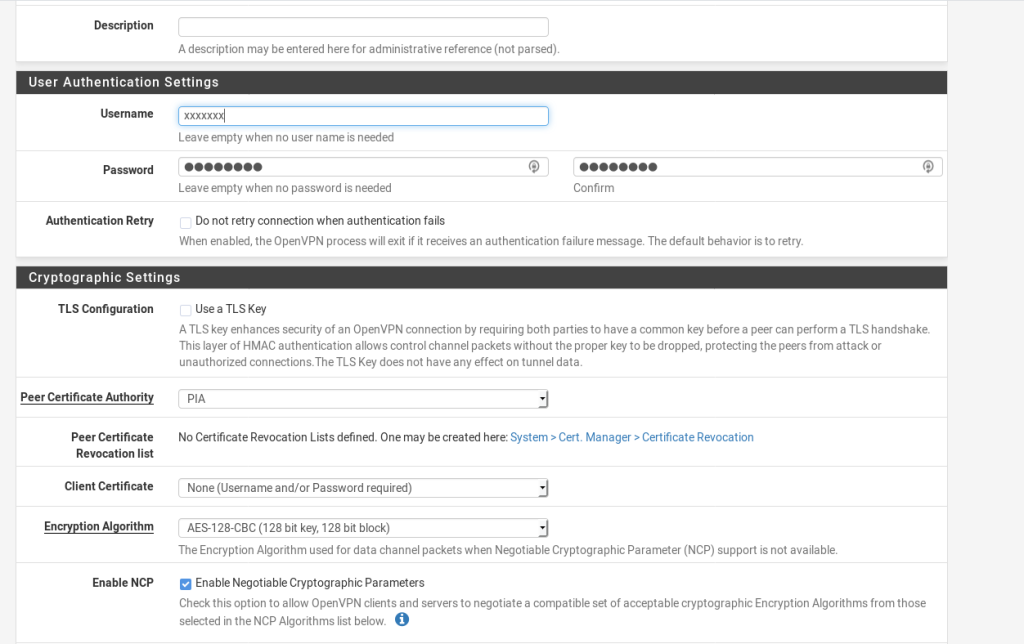
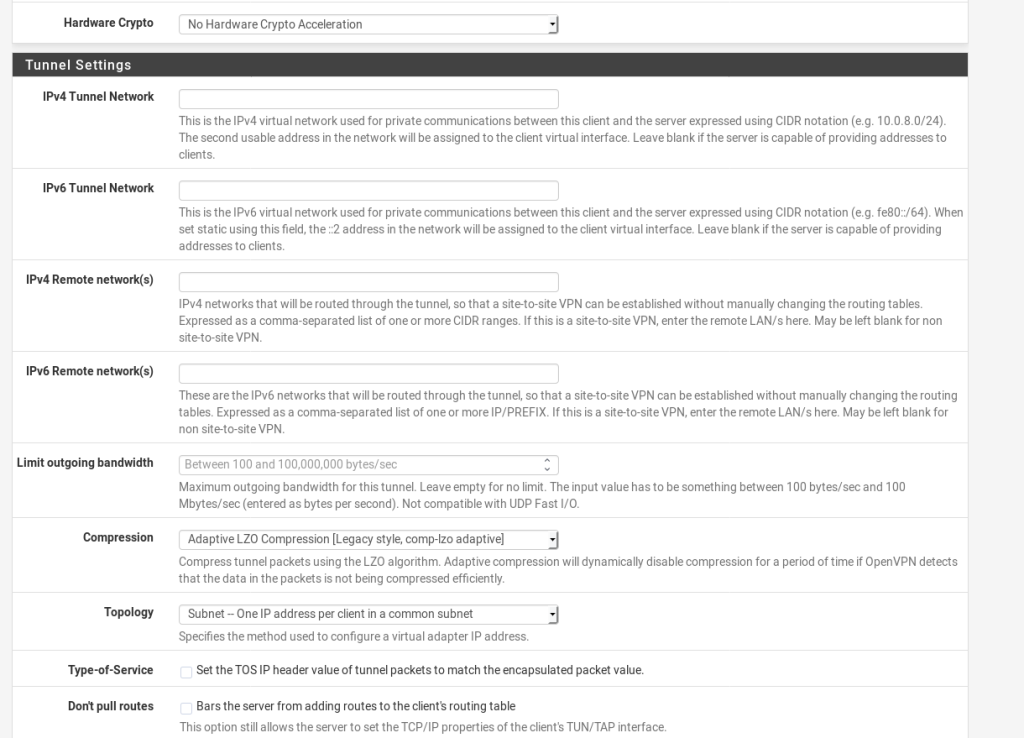
NOTE: I added an additional option to the Custom Options This was suggested by /u/MonsterMufffin on Reddit.
These custom options are below so you can just copy and paste them in:
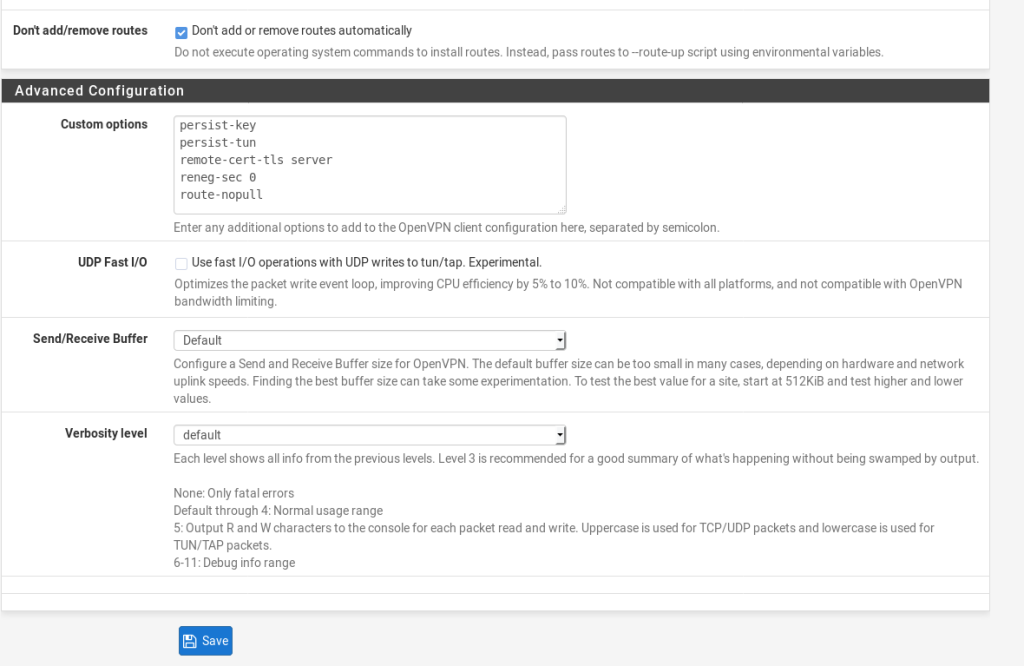
persist-key
persist-tun
remote-cert-tls server
reneg-sec 0
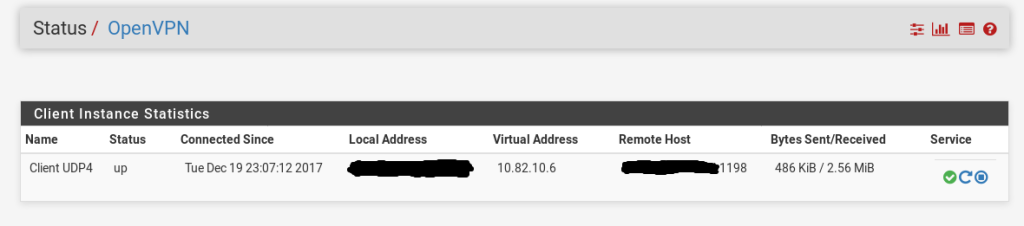
route-nopullThat should be all you need to bring the VPN up, go to Status > OpenVPN and you should see the tunnel is up:
Creating the Interface
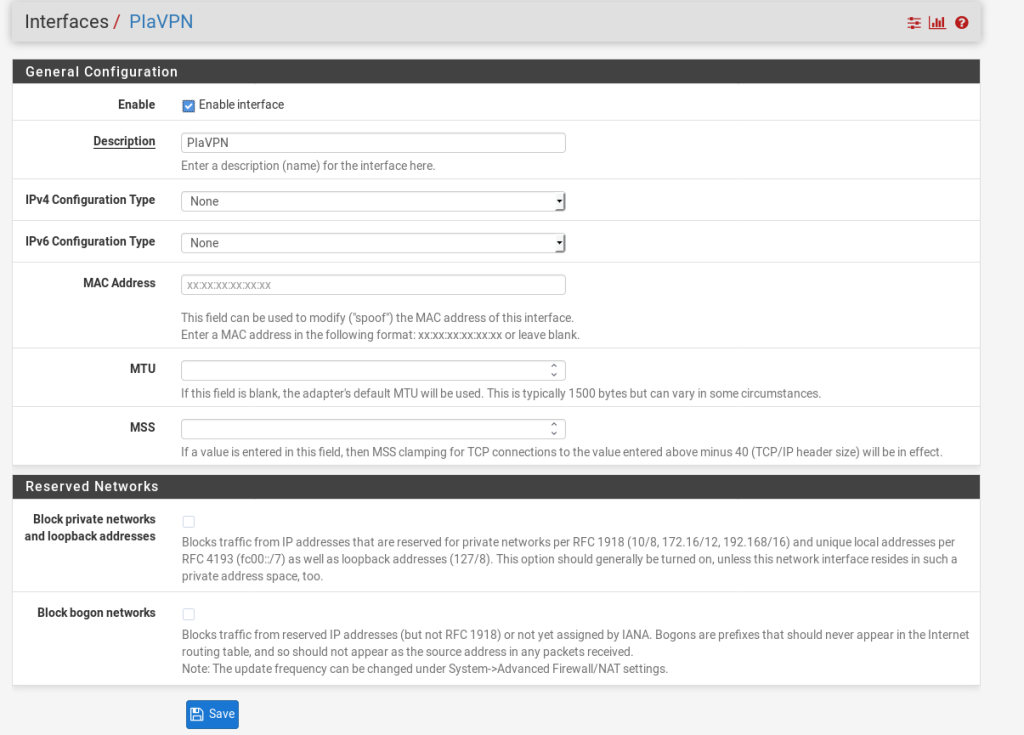
This is a quick section, we need to create an interface on our pfSense machine. Go to: Interfaces > Assignments.
In the Available Network Ports you should have the new VPN we have created, just press Add. In the next page just change the name and press Save.
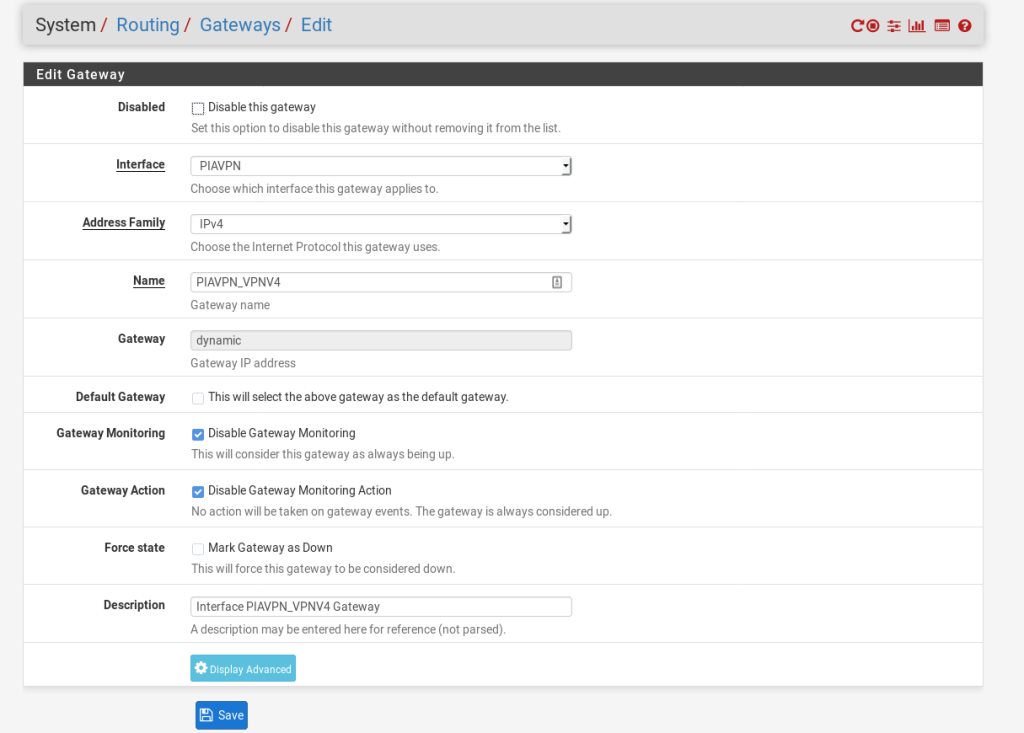
Creating the Gateway
For me, this was created automatically. But its worth double checking that it is there. Go to: System > Routing > Gateways and see if you have a PIA Gateway, the list should look similar to this:
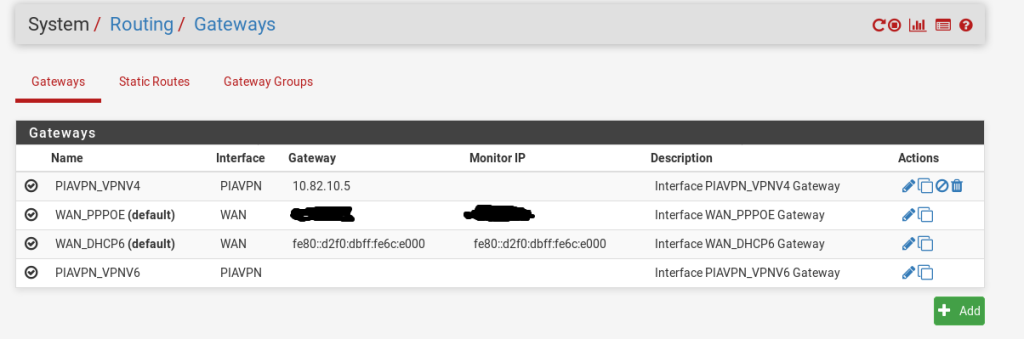
IF the gateway hasnt been created, you can use the following settings, just change the name and interface to suit your own environment / naming convention.
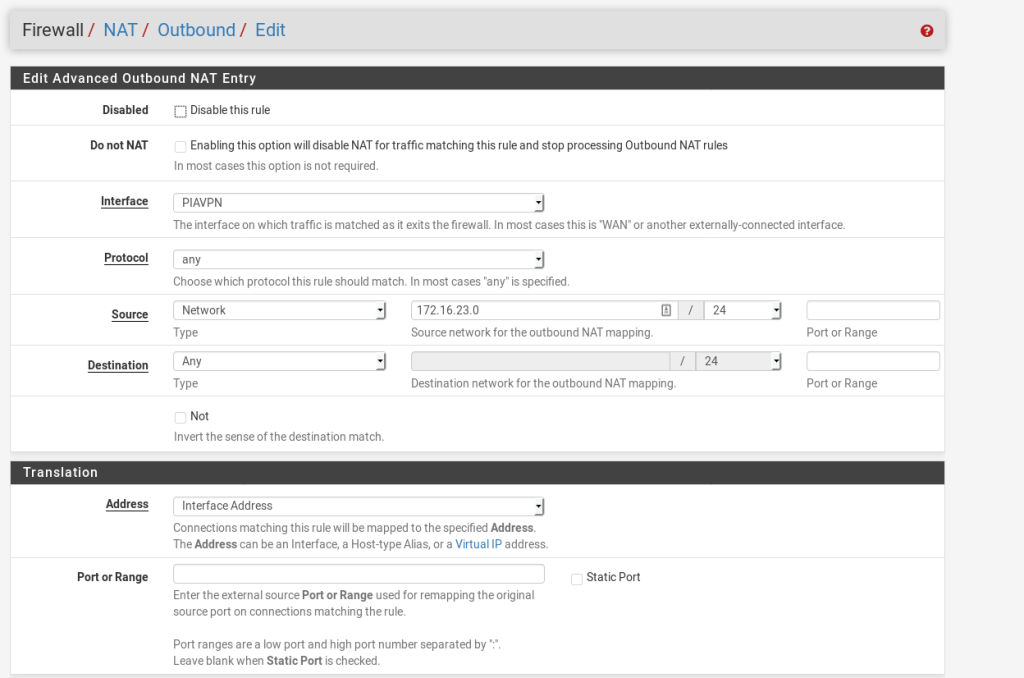
Adding the outbound NAT Rule
This section is probably the most difficult bit to get setup and working. Provided you follow these instructions, you should end up with a working setup (and also not hosing your current setup).
Go to Firewall > NAT > Outbound.
Ensure the Outbound NAT Mode is set to Hybrid.
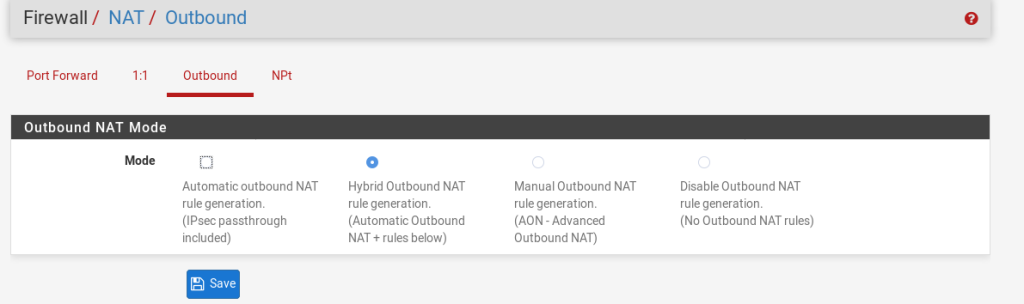
Now press the Add Button, you want this rule to be the 1st that gets evaluated. So use the Add button with the arrow pointing up.
On the next page we need to make a few changes, use the following settings as a guide, but make sure you change the Interface and Source to your own.
All thats left now is the firewall rules themselves.
Adding the firewall rules
The final part to this run through is allowing the traffic to flow.
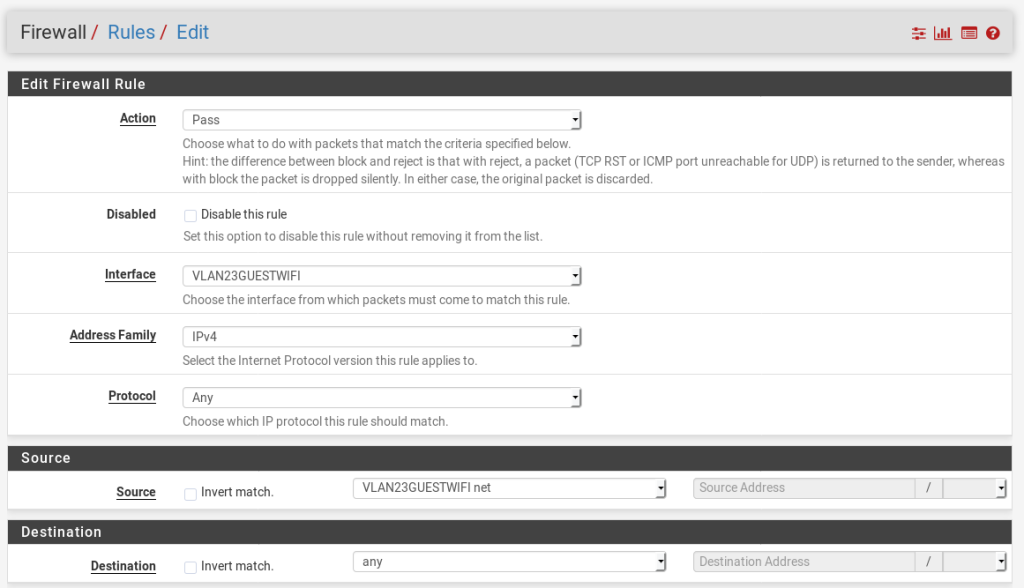
Firstly, id mention that that i made this VLAN specifically for these devices. So im fine to allow all traffic from all hosts in the subnet to send their traffic over the tunnel.
Go to Firewall > Rules > Then the network the devices are on (for me, VLAN23GUESTWIFI)
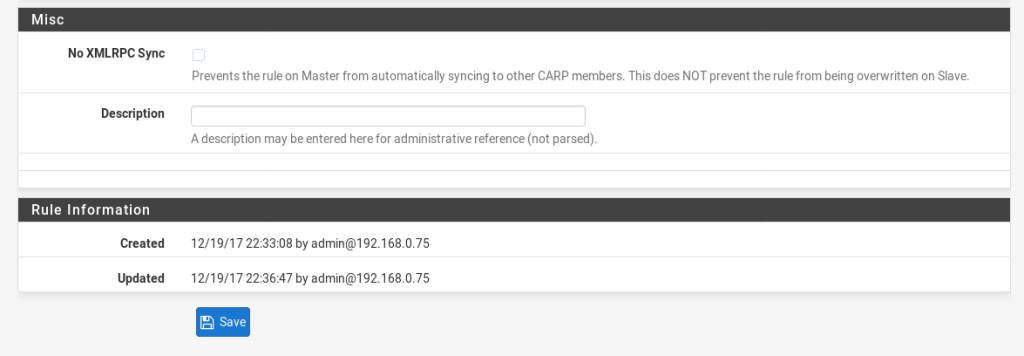
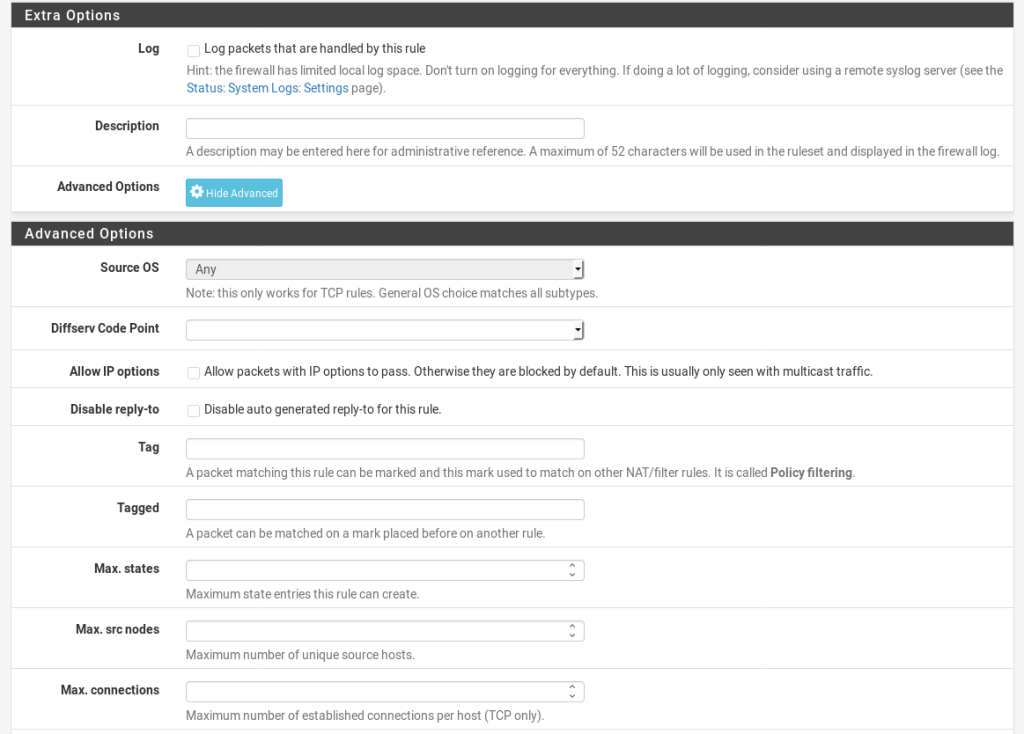
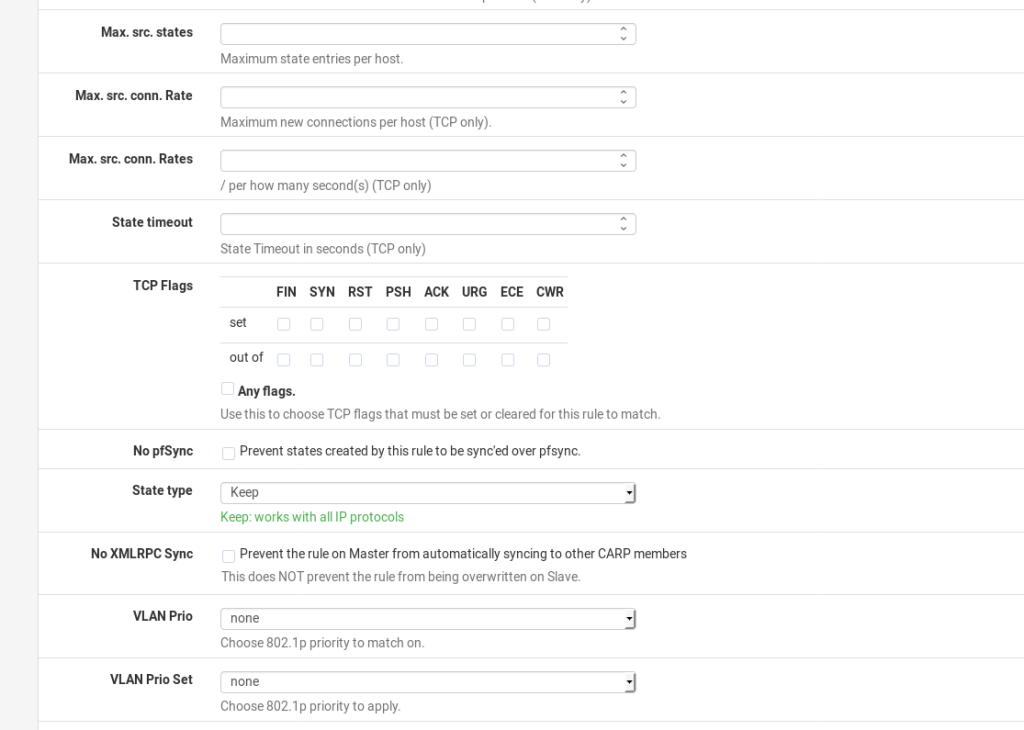
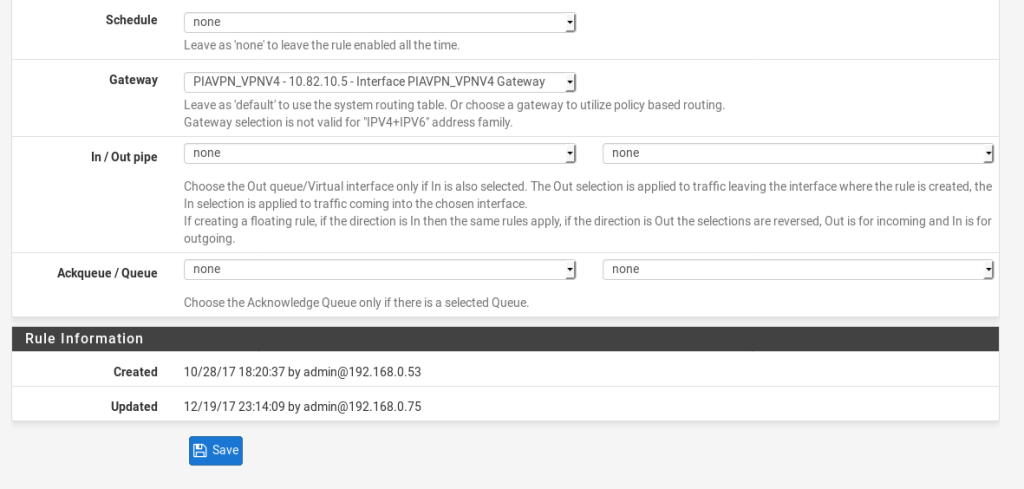
The only difference with this rule and all the other rules we would normally create is we need to go into the Advanced Settings and change the Gateway. Again, follow these instructions and you should end up with a working setup.
Then press Add then use the following settings as a base, but changing the details to those relevant to your own network.
Then press Save. Give it a test.